Decking & Garden Make Over
Now this garden and decking project, was one to remember when it comes to rainforest’s, needless to say there were several over grown bushes and trees blocking out the sun. When we arrived the thought was were to start..? and how to give the family their garden back?
We love a challenge and this was a really good one to get our teeth into.
How We Started
We started by clearing all the bushes from the area to make a little space for us to work, we did this with a small digger, which saves time and money in the long run. After this we cut back and downed a few of the large trees that blocked the light in garden.
Now time to get on with the fence, first we jet washed to get rid of green moss. Then we started to repair the sections that had rotted away. After we finished all repairs to the fence we then painted it all, so the fence now all looked the same.
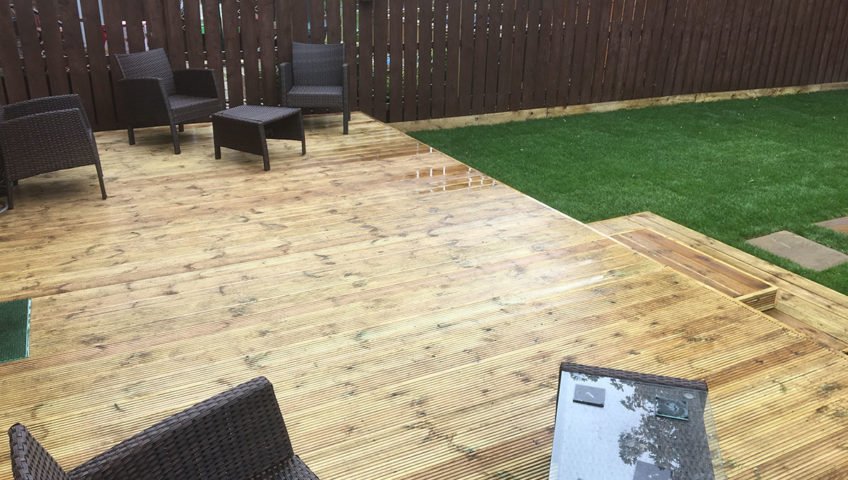
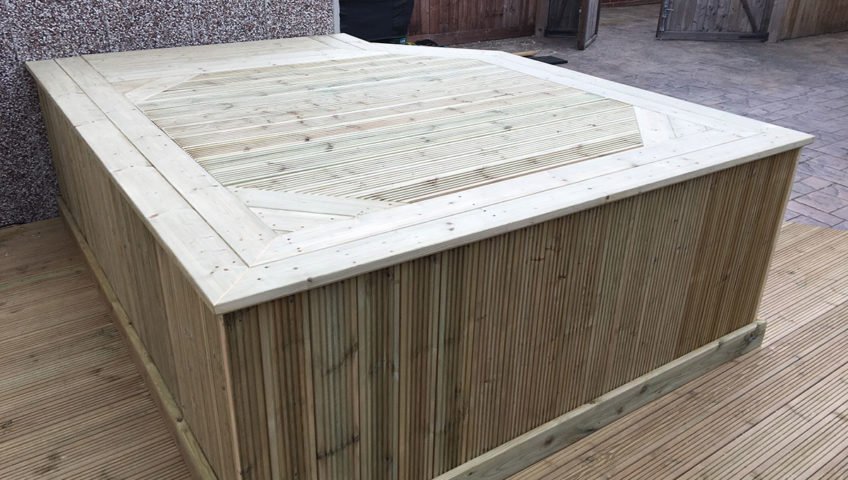
After the fence was repaired we started on the decking, which was just an after thought from the customer, but looks great and gives more to the look of the garden. We also took this time to add nice slated area to side of the decking were a fire pit was to go.
We then concentrated on installing a soft play area at the rear of the garden for the Son to enjoy with his friends. The area for soft play was built with geo grid which stabilised the ground before the weed membrane was installed. After this 8 sacks of soft wood chipping’s, was poured over the weed control to give their Son’s area that play ground feel.
Next came quality real grass turf 120 square meters of it and this sets off the green in the garden. The last thing was a small stone path which would allow the family access from the decking to the rear of the garden without the need to step on the grass.
Project Goals
The goal of this project was easy and was to give the family their garden back, without the need to spend a fortune on doing so. I really hope they carry on the momentum and start planting and watch the garden grow over time into mature area to enjoy for years to come.
Customer Review
Absolutely fantastic! The transformation in our garden is absolutely brilliant. Would definitely recommend these lads to everyone. Fantastic service, hard working, absolutely amazing. Just marvellous. Thank you so much for our garden.
Elizabeth Keogh
CONTACT US NOW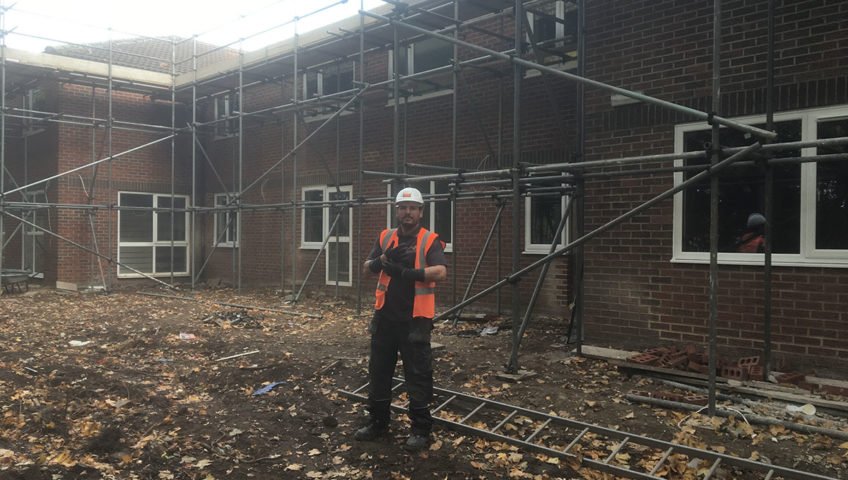
Recent Comments